Screen Printing Workshop: Day 2
On the second day of the workshop, the goal was to complete the finishing touches on the screens, mix colours, and print the final designs.
First, we checked our screens to ensure there were no errors with the emulsion or gaps after they had been washed and dried from the previous day. We placed the screens on top of the lightbox, painted on the emulsion with a paintbrush and scraped off the excess. Then we placed the screens on the UV exposure unit again to “double bake” them to ensure all the emulsion had hardened.
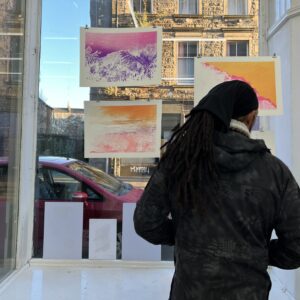
Because we only needed to wait a short time for the screens to dry, the group worked on mixing their paints while they waited. As I mixed my colours from the previous day, I went to the printers and collected the exhibition posters meant for distribution.

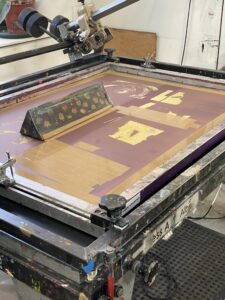
Next, we watched a demonstration on how to screen print using our screens. First, we set the screens onto the press and put the clips onto the metal frame on each side to ensure the screen was secure and wouldn’t wiggle when printing. Then we set the snap by adjusting the dials to check the tension. We wanted enough tension when pushing down on the mesh for it to bounce back, which would reduce the bleeding of the colours and retain the details of the print.
After this setup, we added tape around the edges of the screen and the section we wished to print with, as well as the other sections we wanted to protect to ensure that the ink didn’t go through the wrong part and dry up without us realising. Then we taped a block to the screen on the opposite side of where we would print to rest our squeegee. We also grabbed a sponge, a bucket of water with a few droplets of soap, a cloth, newsprint, paper, ink/paint, and acetate. We attached the acetate with one piece of tape underneath the screen where we would print, which would be used as registration.
We had completed all the necessary preparations and were finally ready to begin printing. It was an exciting moment for us as we worked hard to reach this point. Before we started, I carefully considered which squeegee to use for the job. I ultimately decided on a green squeegee due to its durability and ability to produce highly-detailed prints. This choice allowed us to produce prints of the highest quality, which was essential to our success.
We turned on the vacuum and added the ink on top of the screen on one side of the print. We dragged the ink across the screen at a 45-degree angle first to flood the screen with the screen elevated. Then, with the screen down, using the squeegee, we pushed the ink back across while pushing down against the tension of the screen to achieve our print.
When printing a design, it is important to consider the different materials that may be used. In the case of a print that will be transferred onto a newspaper or other type of paper, it is recommended to first print the design onto an acetate sheet. This allows for corrections to be made and ensures that the final print will be of high quality. Once the design has been finalised on the acetate sheet, it can then be transferred onto the newspaper or other paper of choice. By taking the time to properly prepare and print the design, the result will be a print that accurately represents the original design and is of the highest quality possible.
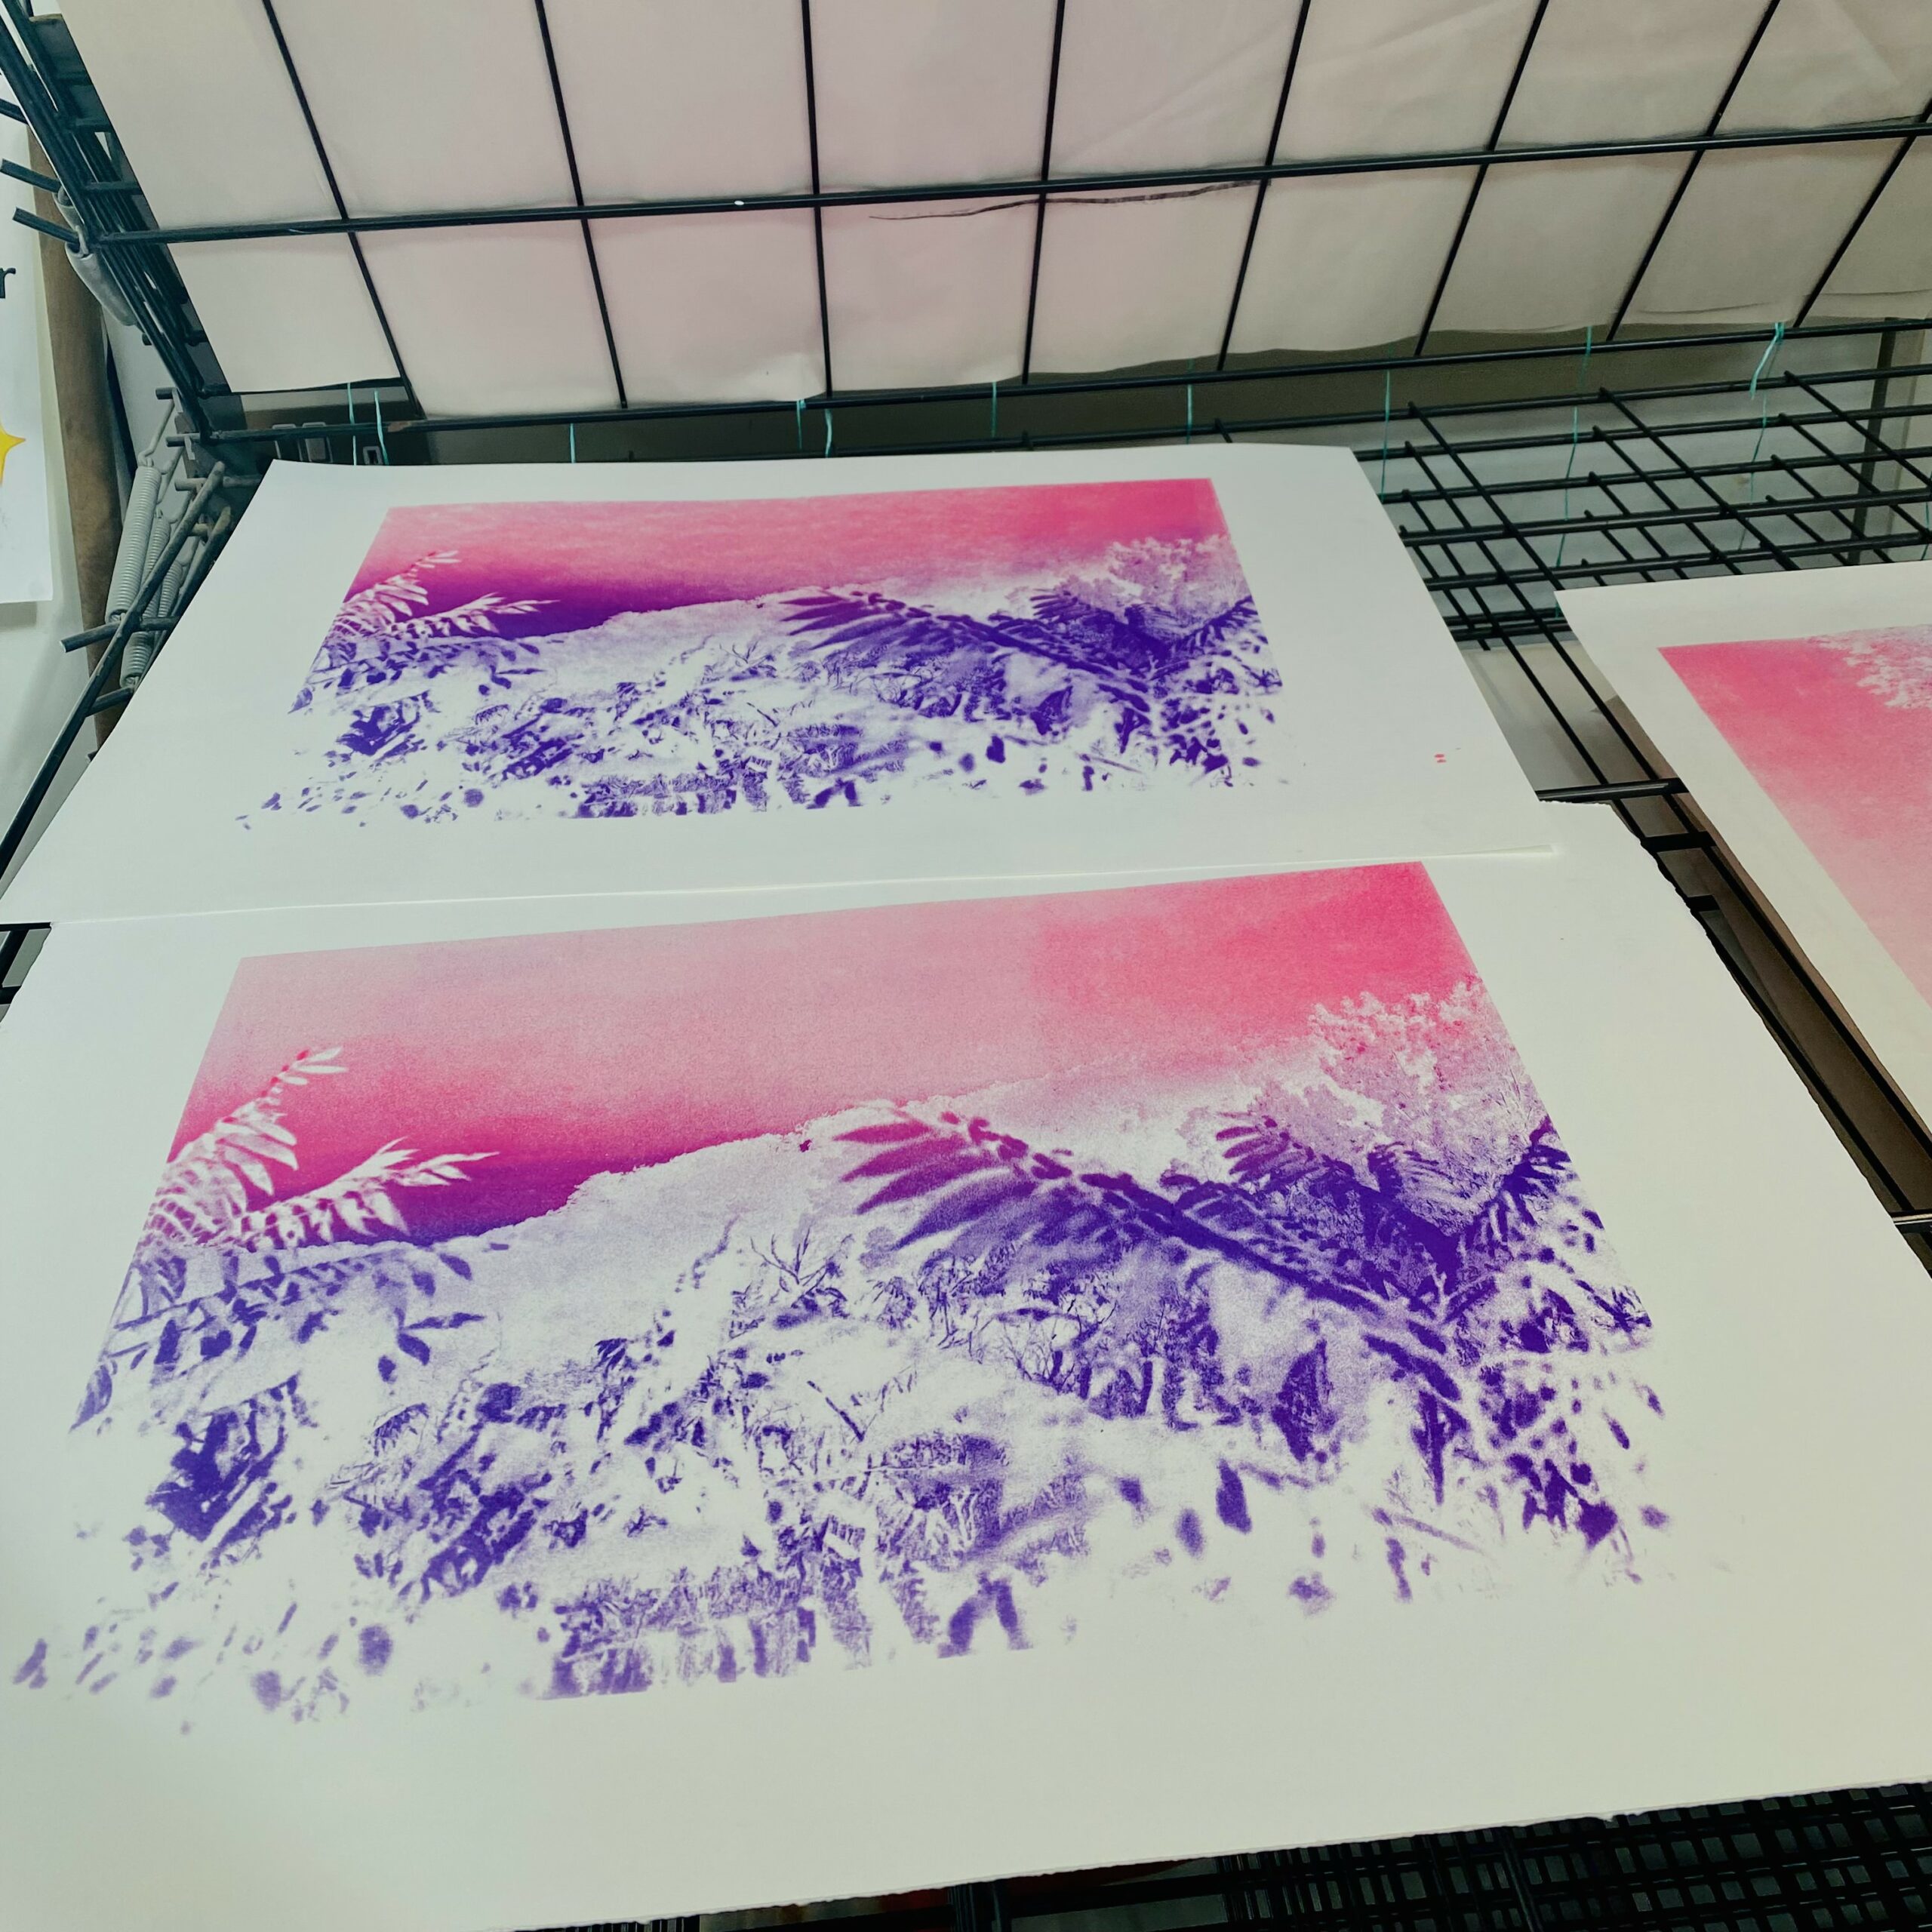
After watching this demonstration, we got into pairs since we were sharing A1-sized screens and set up our screens. For the first print, I decided to do the blend as it was the easier technique. I added the ink to one side of the print and chopped it using the squeegee to create the initial blend. The more prints you do with a blend, the better the outcome will be.
Then I moved on to the monograph. With this technique, you want to paint directly onto the screen with very light brush strokes, and a small amount of paint, and not go over any sections you’ve already painted. You have to work extremely quickly before the paint dries out to get your print. So I painted pink streaks straight onto the print.
Then I added the orange ink to the side with the intention that the orange would fill in the gaps. You only have one shot at this after your first print, then it’ll become a blend. In the video, you can see how I achieved this print.
One problem I encountered during each print was that I lacked sufficient upper body strength, which necessitated assistance from the workshop leader at certain points.
I completed my other blend print, which turned out amazingly! However, by this point, the workshop was wrapping up, and there was time pressure to clean up in the next 20 minutes. This caused stress as I knew I needed at least four prints for the exhibition, which led to me making mistakes with my monographs and creating many misprints, even getting a smudge of ink on the bottom of the best print. I felt very disheartened by my efforts and rushed what was a slow and intentional process. If I had enough time and better time management, I would have booked onto an earlier course, done a refresher course to get my membership, and taken the time to ensure no mistakes occurred.


Leave a comment