Shoot (Contact Sheets): Studio Shoot with Jane Haze
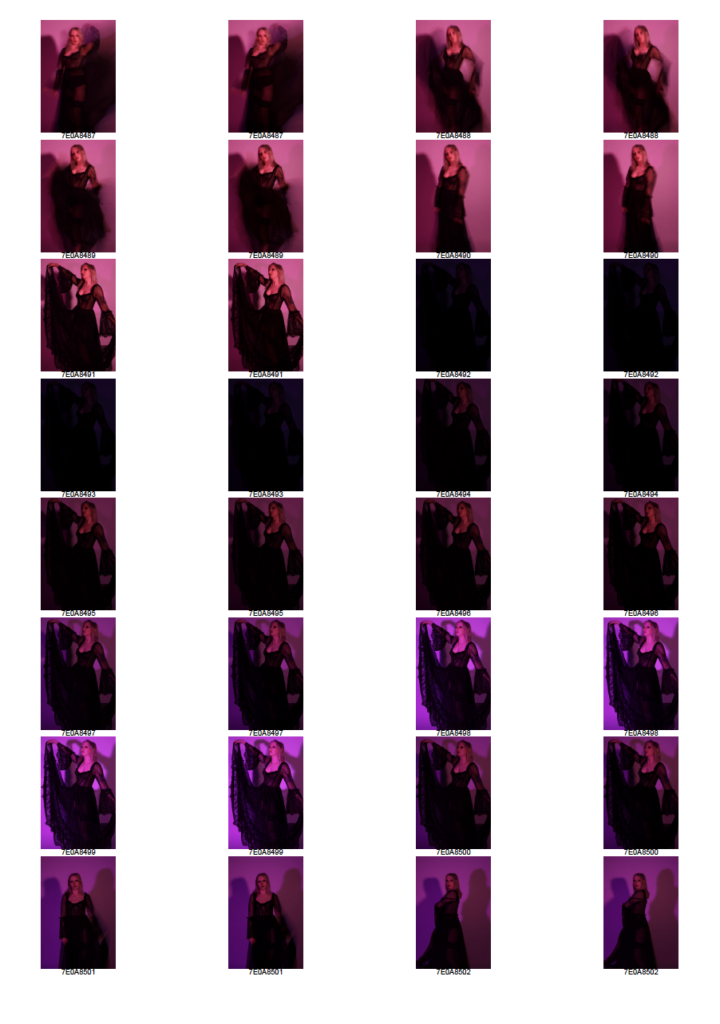
For this photoshoot, I had two initial ideas, but it quickly became evident that I would only be able to execute one of them as the water effect did not work when I held up a water bottle to the studio light. After some research, I found out that I would need to use a metallic or iridescent material as a reflector to achieve the underwater effect. I plan to reshoot using this technique after completing two location shoots because there were successful images from this studio shoot.
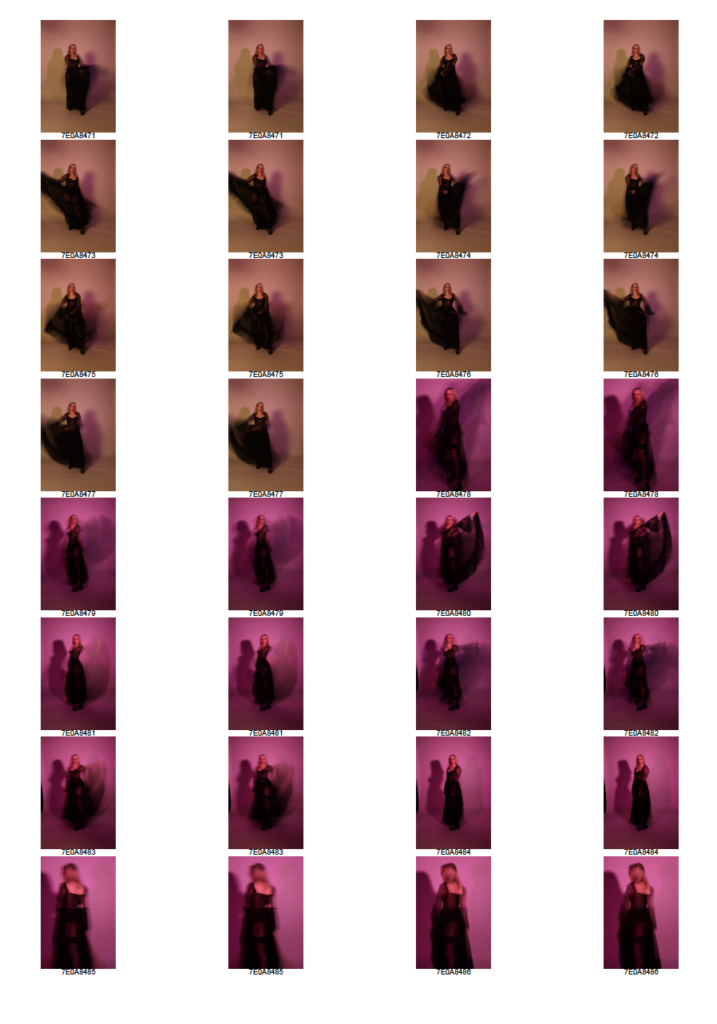
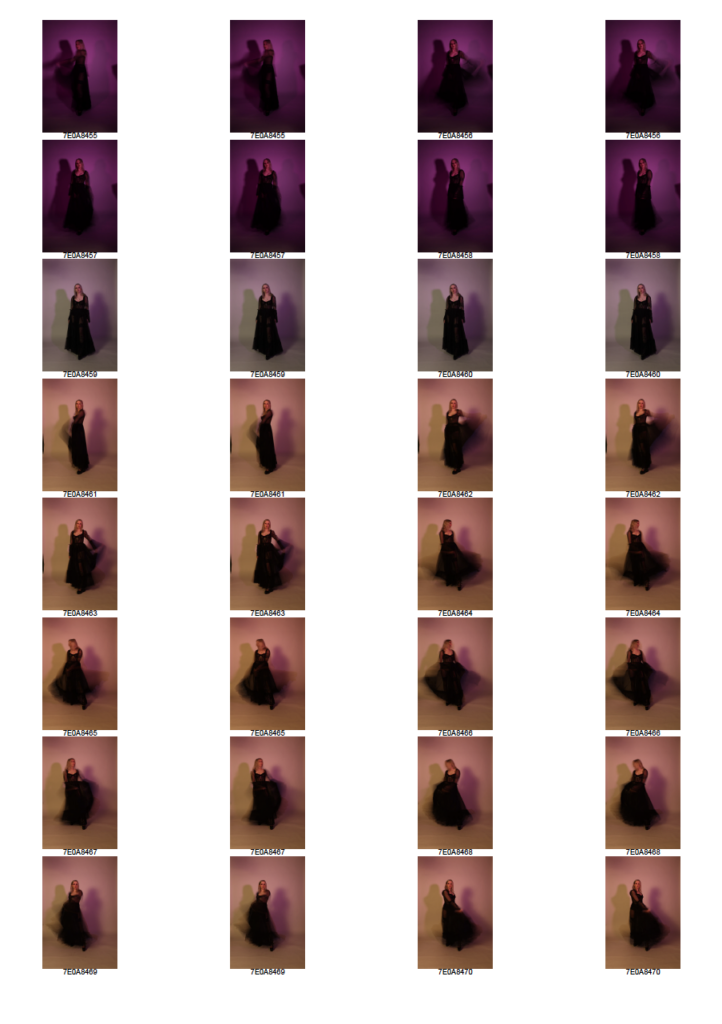
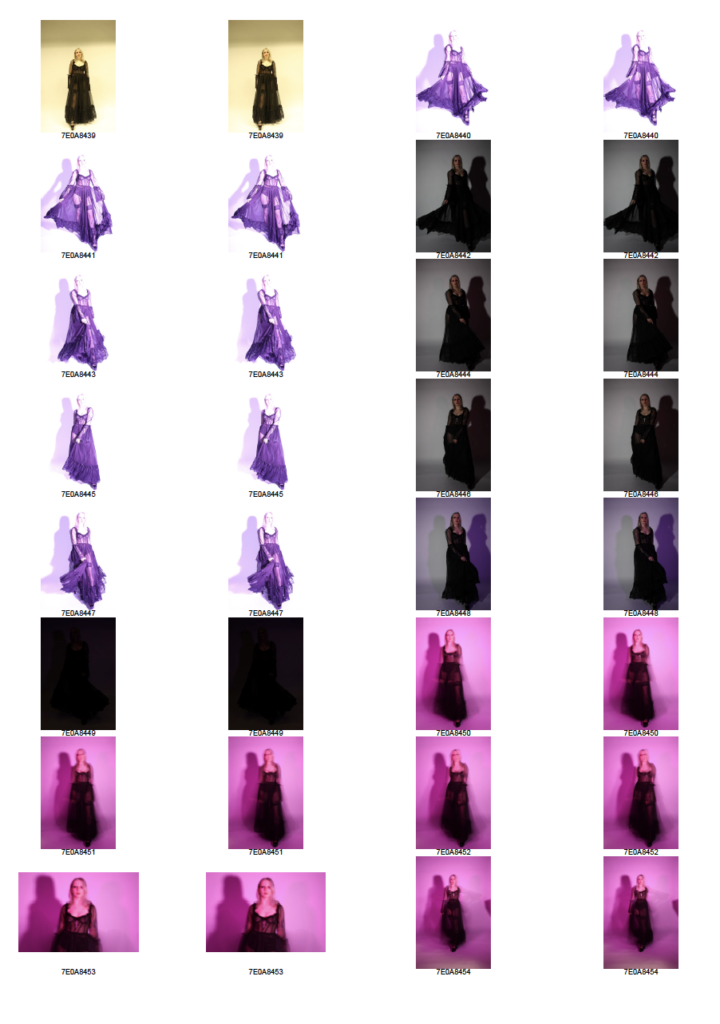
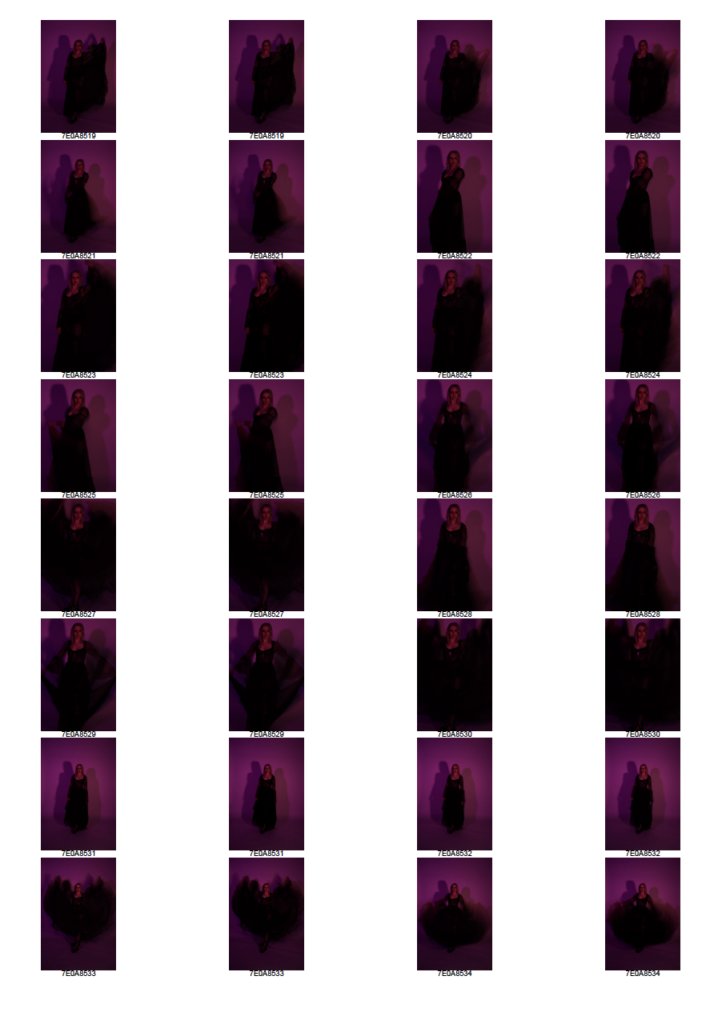
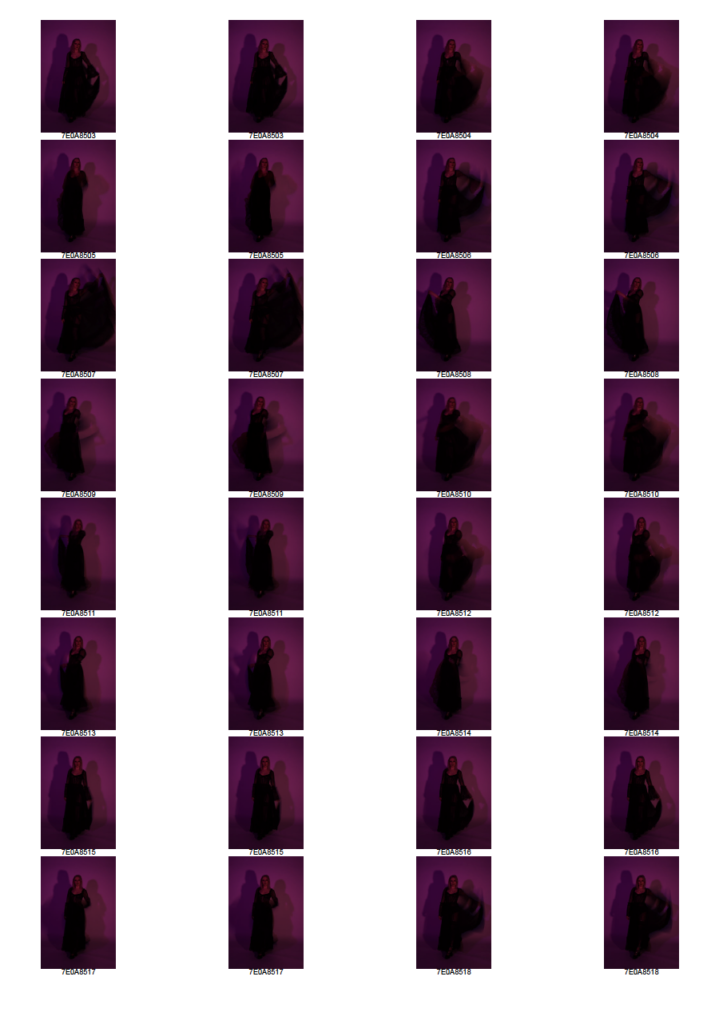
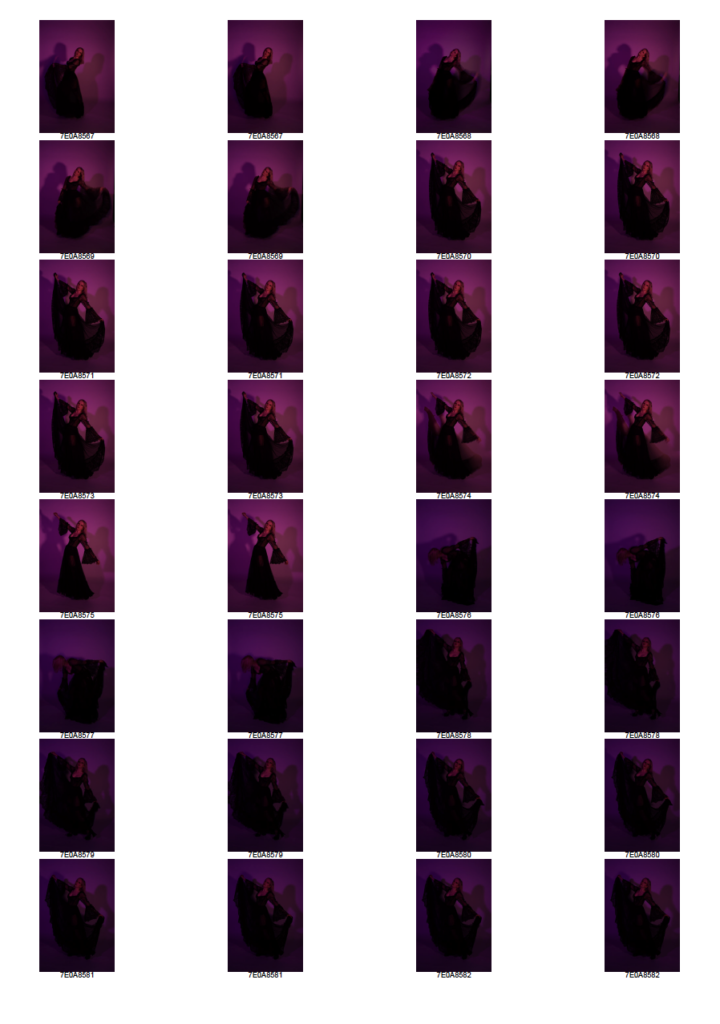
At the start of the shoot, I experimented with slow shutter speed and lighting. I decided to use purple gels on one light, but using only one light created a harsh shadow behind the subject on the backdrop. To fix this issue, I added an extra light to soften the shadow’s intensity, but that created another issue. The warm colour temperature of the other light created an off-putting colour mix with the cooler purple light. I clipped two gels, magenta and blue, onto the left light, which corrected the colour temperature mix and created a hot magenta colour.
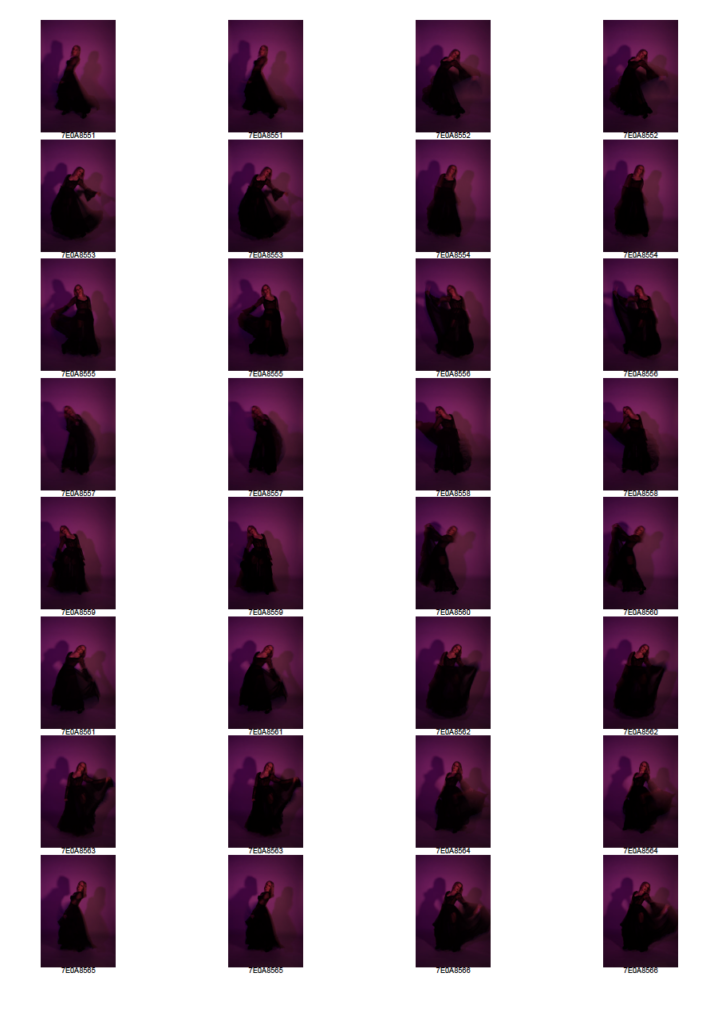
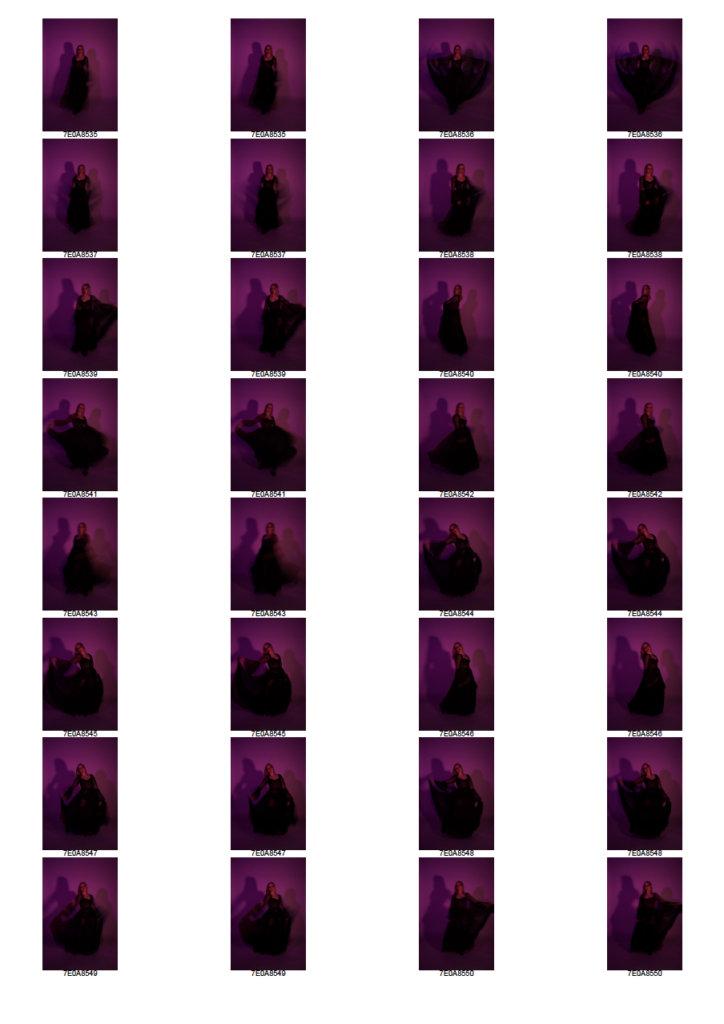
I received feedback from the musician throughout the shoot as part of a collaborative process that I wanted to implement. I assured them that they could give critical feedback. Once they felt comfortable to give feedback, she said ‘I don’t want to be in a neon room’. So, I lowered the intensity of the left light, which gave more of a hot pink hue, and increased the intensity of the right light, which gave a cooler purple. From this point, we focused more on the slow exposure aspect of the shoot.
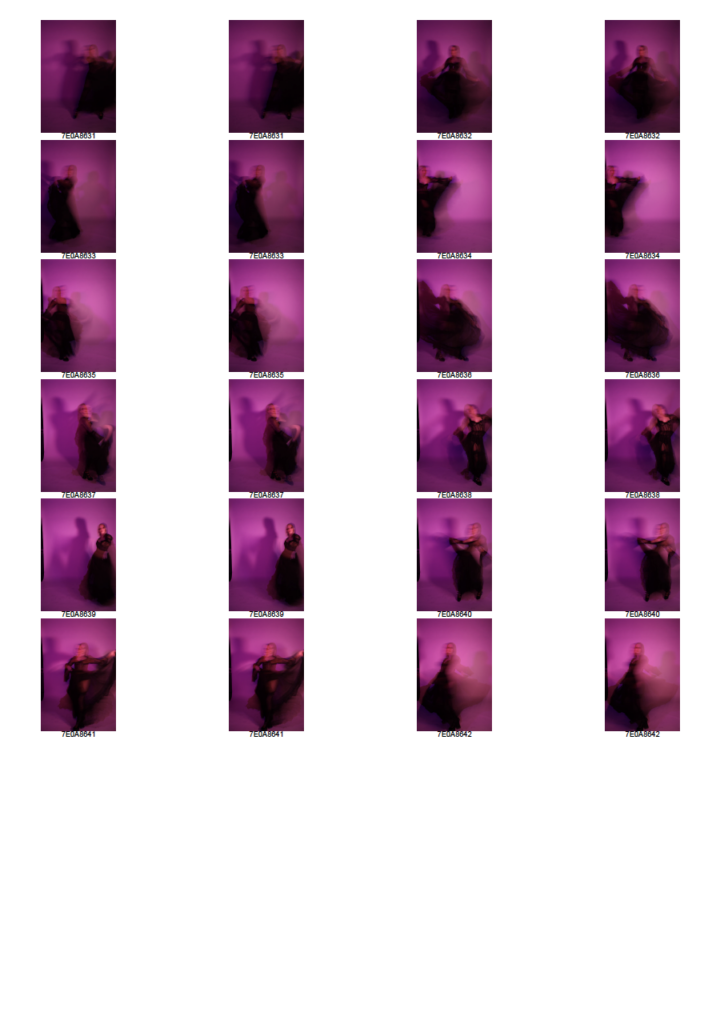
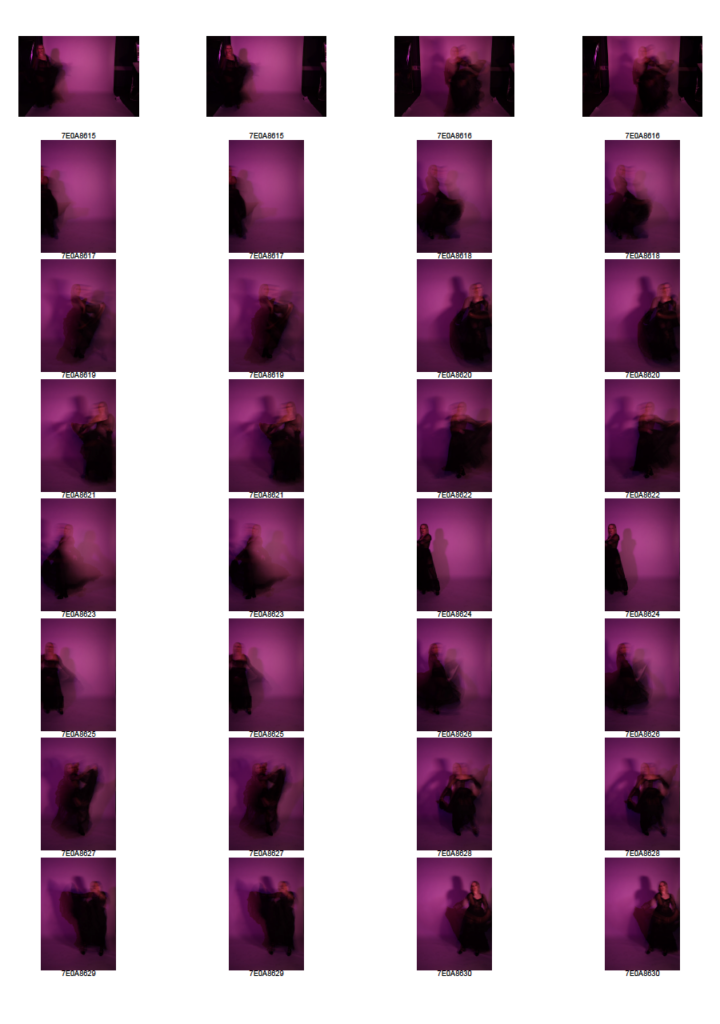
As we were working through the slow exposures, I realized that my camera’s slow shutter settings were on front sync flash instead of rear sync flash, so I had to account for that when I had my model spin towards the camera. Not accounting for these settings meant that my model’s face wasn’t visible in the second part of the image. I changed the direction of the model’s posing, having her move left and right across the frame while moving her dress. She was a bit stiff in her movement due to her platform heels, which showed in the preview of the images. So, I demonstrated for her and told her to imagine her movement as flowing water and imagine she was a forest nymph, as she told me that visualization is how she generates her vocals. This type of direction proved to be the most effective, and I managed to capture my best shots during this shoot afterwards.
Leave a comment