Edits: Studio Shoot with Jane Haze


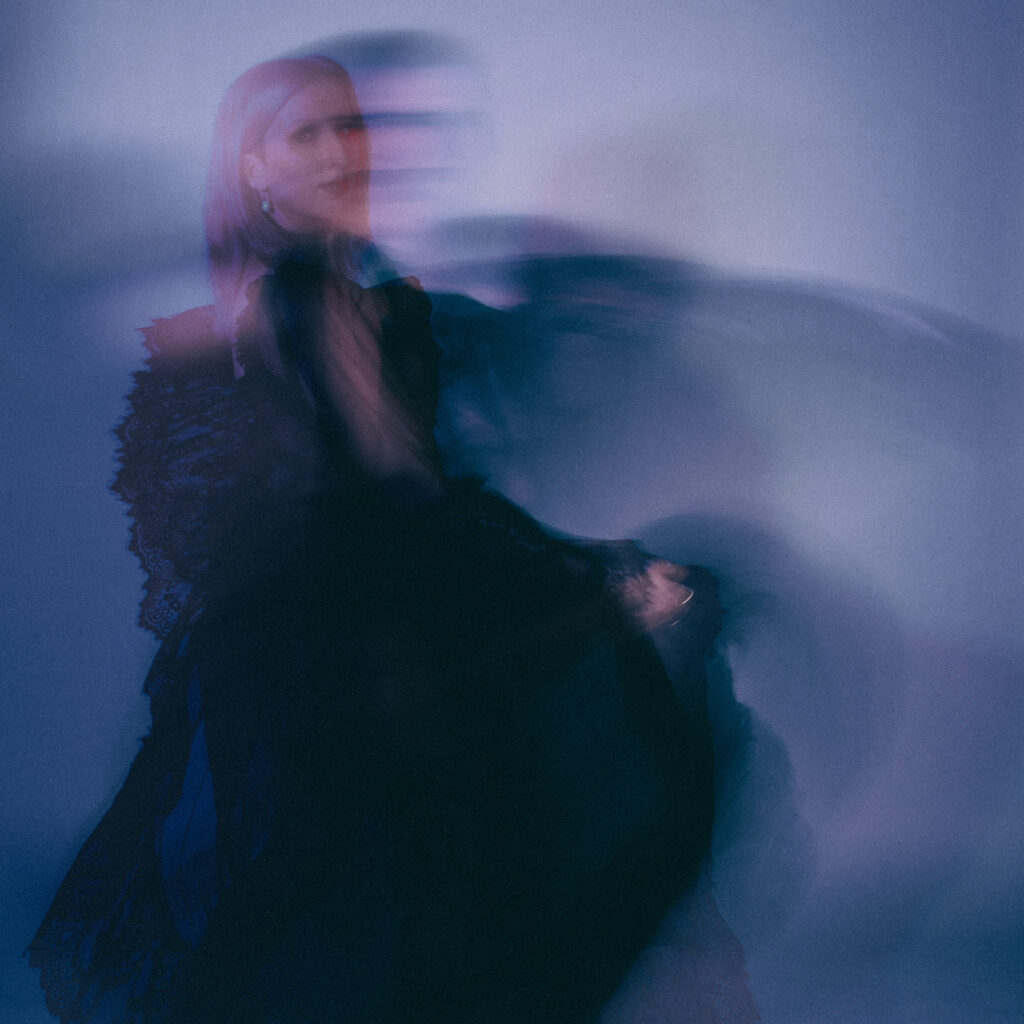
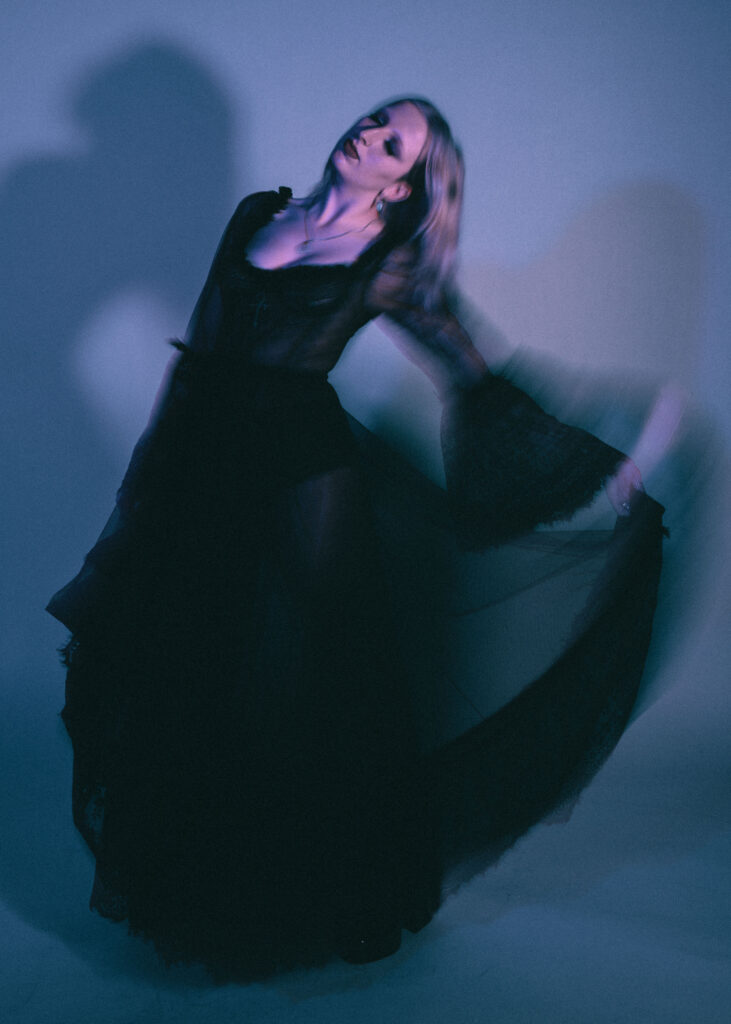
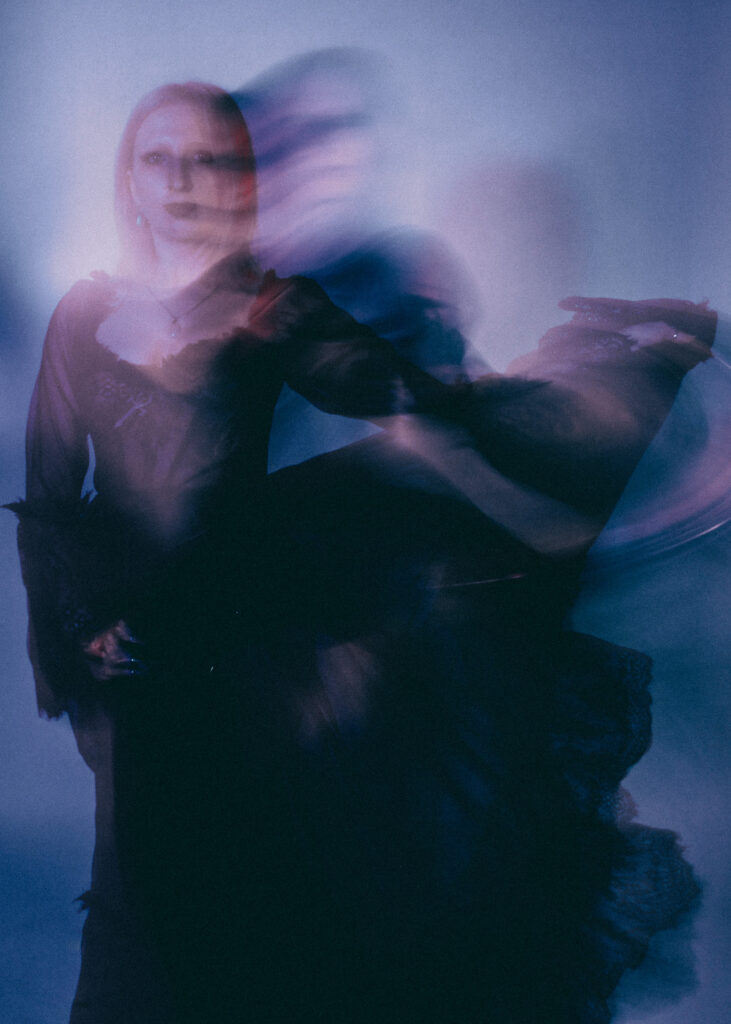
To begin the editing process for these images, I first cropped them to either a 5×7 or 1×1 ratio. This allowed for a small variety of image sizes that Jane Haze could post on her social media platforms without them being cropped.
For the image on the left, I adjusted the exposure values until they were correctly exposed according to the histograms. Then, I changed the colour temperature from hot pink to a more violet hue to give the image a softer, more feminine feel. To showcase the model’s features, I used a brush adjustment tool to increase the clarity, dehaze, and sharpness settings on her face and clavicle. I combined several presets including VN09, Red Lift Matte, Warm & Moody, and lastly Modern 08. To make final tweaks to the colour, I adjusted the highlight, mid-tone, and shadow hues individually to create a soft, dark lavender colour mix for the photograph.
After completing the edits for the first image, I copied and pasted all the colour adjustments to the other two best images. However, because the lighting schemes used to capture the images were different, I had to adjust the settings for the highlight, mid-tone, and shadow hues to match their respective lighting conditions.
The image on the left required a little more attention because the model’s face started to fade into the background as the colour settings reduced the contrast between her and the background, due to her pale skin and the one-directional lighting setup. To correct this issue, I used an adjustment brush to increase the contrast and dehaze slightly on the face as well as the trails created by the slow shutter speed. Overall, I am very pleased with the final images and feel that they accurately convey the desired aesthetic and mood for Jane’s social media platforms.


Leave a comment